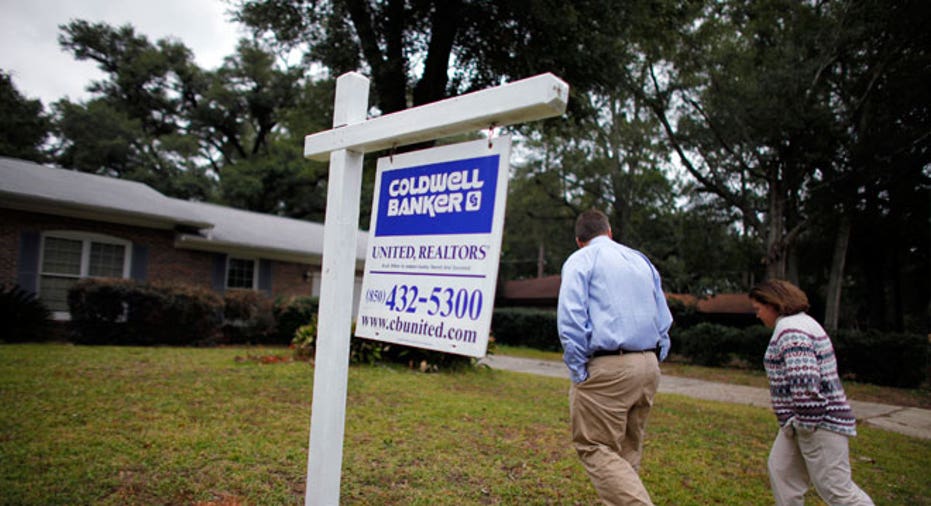
What to Check for in Your Final Walk-Through

When it comes to the home-buying process, experts point to the final walk-through as one of the most important steps in making an informed decision. Usually done just before the closing day, the final walk-through gives you a chance to make sure you’re getting the same house and amenities you originally made an offer on.
From the timing to what should be on your checklist, here are the five steps that should be done for a successful walk-through.
Get the Timing Right
Timing is everything when it comes to a final walk-through. Since the whole idea behind the walk-through is to make sure there aren’t any unexpected repairs, scheduling your walk-through too close to the closing could delay or even kill the deal and scheduling it too far in advance runs the risk of the house being in a different condition come closing time.
According Coldwell Banker Consumer Specialist Jessica Edwards recommend scheduling the walk-though the day before closing to avoid any delays. “If something is wrong, there is not time to address it before going to the attorney’s office,” she says.
Recheck All Conditions & Repairs
Part of the process of buying a home is having an inspector come in to ensure the house is in good working condition. The buyer and seller will negotiate what fixes will be done before closing, and the final walk-through is when you want to verify the promised repairs were met.
“Bring your contract with you to confirm that any negotiated items during the home inspection were repaired or addressed in the way previously agreed upon, going through each item individually,” says Doug Breaker, president and CEO HomeFinder.com. “If you find any discrepancies, address it with the listing agent during the walk-through to avoid delaying the closing.” It also pays to get invoices from the seller or other proof that the fixes were made.
Have a Checklist
Experts recommend verifying the water and plumbing fixtures are all working correctly and that there are no leaks, including with an exterior irrigation system. You also want to ensure the lights turn on in each room and that every appliance works properly.
The checklist should also include flushing the toilets, opening and closing the windows and testing the garage door. Don’t ignore the outside of the house: Breaker advises walking the perimeter of the house to make sure the exterior hasn’t been damaged by bad weather.
Inspect for Previously-Hidden Problems
Homes are often staged to make them sell quicker, but all the furnitute, fixtures and decorations should be gone during the final walk-through, which gives you the perfect change to inspect for any water damage, holes and anything else that was previously hidden.
“Check if there’s a huge hole in the wall where the bed was or if there’s a big stain on the carpet that was hidden by a sofa,” says Edwards. “Some fixes may be cosmetic, but if you have time and they are negotiable items, you could still address them.”
Get What You Paid For
If the seller agreed to throw in the kitchen appliances, the window coverings or the washer and dryer, the final walk-through is the time to make sure they are there. If the seller agreed to have the house broom swept, which means it’s empty of his or her possessions then you need to make sure that condition was met during the final walk-through.
You also want to make sure the possessions are in the agreed upon condition. It won’t do you any good if the window coverings are there but are heavily stained or torn. “…Was the beautiful stainless steel fridge in the kitchen supposed to stay, but now in its place is the lovely 20-year-old garage fridge?” says Edwards. “These are things that need to be addressed and checked during a walk-though.”


