


PCMag QuickStart: 5 Steps to Get You Up and Running With Freshdesk
We recently named Freshdesk an Editors' Choice tool in our best helpdesk software roundup. That's because Freshdesk recently underwent a makeover, nicknamed "Freshdesk Mint," that provides users with a more attractive and intuitive navigation experience.
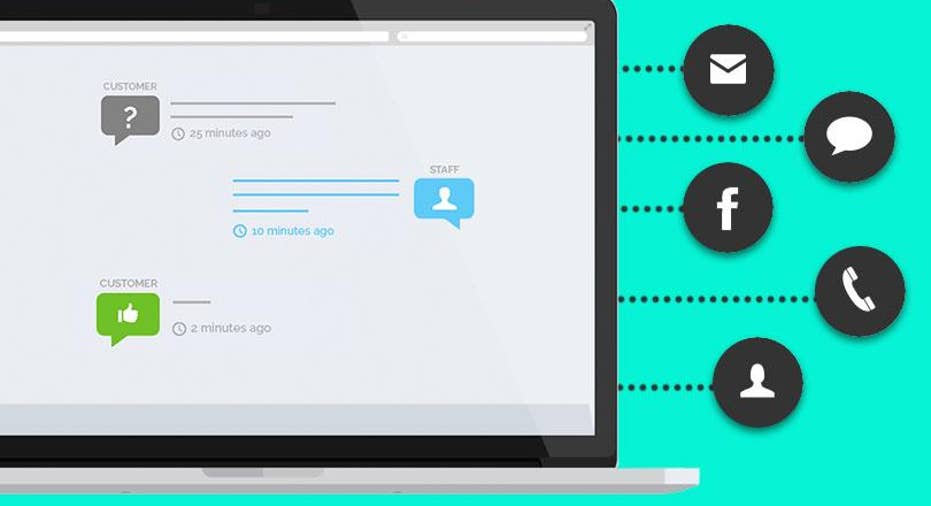
In this article, we will give you step-by-step instructions on how to add new agents to the system, group those agents together, create canned responses for common ticket issues, merge tickets, and add your company's Twitter handle to your Freshdesk account. For more information about Freshdesk, read our comprehensive review, which we've linked to above.
How to Add a New Support Agent
As new helpdesk team members join your group, you'll want to add them to the system as quickly as possible. This is an easy, 4-step maneuver that doesn't require much heavy lifting at all. Agent profiles can be as rich as you'd like them to be, but all you'll really need is an agent's name and email address to get them loaded into the system. Here's how to add agents:
To add a new agent to your account, log into your Freshdesk account as an administrator. Once you're there, click the Admin tab.
Click Agents.
To add a new agent, click the New Agent button.
Here you'll be able to specify the email address, add a profile picture for your agent, give your agent a title, and more.
To adjust your agent's role and scope, scroll down. You'll be able to change what the agent can or can't see. Agents are automatically set to Global, which means the agent can see everything in the helpdesk. You can limit them to seeing only tickets assigned directly to them or tickets assigned directly to their specific groups.
How to Create a New Group of Agents
Grouping agents helps to automate workload management. For example, if you're routing tickets to whichever agent is next in the queue but that agent isn't proficient in handling Java queries, then he or she will have to manually pass this ticket to someone in your group who can solve the issue. However, if you create groups for specific issues or for specific teams, then you'll ensure that only those teams see these specific tickets when they're logged. Here's how you'll create your first group:
To create a new group of agents, log in as an administrator and click the Admin tab.
Select Groups.
Click the New Group button.
Here you'll be able to add a name and a description for your group. You'll also be able to add agents to the group by typing names into the Agents box.
You can also determine how you'd like tickets assigned to this group to be routed.
How to Add a Twitter Account to Freshdesk
Customer service-savvy businesses want to nip complaints in the bud before word of mouth starts to spread. You can set up your Freshdesk account to create a ticket and alert an agent whenever someone references your company on Twitter. This works by tying your Twitter handle directly to an account. Here's how you'll set this up:
Click the Admin tab.
Click on Twitter.
From here, you'll click Add Twitter account.
You will be redirected to Twitter where you'll need enter your Twitter credentials.
After that's done, you'll be redirected to the Edit account page in Freshdesk. Once your account is connected to a Twitter handle, you can select which agent groups can see the mentions of this account. Direct Messages (DMs) will be converted to tickets automatically.
How to Merge Tickets
Companies will often receive multiple queries for the same issue. For example, this happens when a company's website goes down or if a product is no longer available. Instead of having multiple agents field each of these queries individually, you can merge tickets. This action puts the overarching issue under the control of one agent and lets the agent resolve the issue at hand one time rather than having to mark each ticket as resolved one by one. Here's how to go about merging tickets:
Go to the Tickets tab.
Select the tickets you want to merge from the list using checkboxes.
Click the Merge button.
Select which ticket you'd like to make the primary ticket. Keep in mind: Merging tickets cannot be undone.
Click the Merge button.
How to Create a Canned Response
Your agents will also receive the same query over and over again. Repetitive questions that get asked frequently don't need unique responses. You can set up a canned response for a repetitive query and then attach that canned response to any ticket that poses said query. For example, if customers are having a difficult time getting access to a service, then you can create a canned response telling them the exact pathway to accessing the service. Any time you receive a query of this ilk, your agent can attach the canned response and press Send rather than typing out a new response. Here's how to set this up:
Click to the Admin tab. Go to Helpdesk Productivity.
Click Canned Responses.
Click on New Canned Response.
Here you'll be required to provide a response title and response text within the text editor. You can also click Insert Placeholder to add dynamic content such as Ticket ID, Subject, or Requester Name in the reply. You'll be asked to choose who can use this response; it can be set to a specific group, all agents, or personal use only.
Now, whenever you or your agents are responding to tickets, you can click on Insert Canned Response to use a templated reply.
This article originally appeared on PCMag.com.