


5 Crucial Microsoft Surface Hub How-Tos
Now that your business owns a Microsoft Surface Hub, you'll want clear instructions on how to set certain things up and optimize the device for continuous usage. Although the Surface Hub is tremendous for business collaboration, videoconferencing, and productivity, it is a concept device and, as such, comes with a steep learning curve.
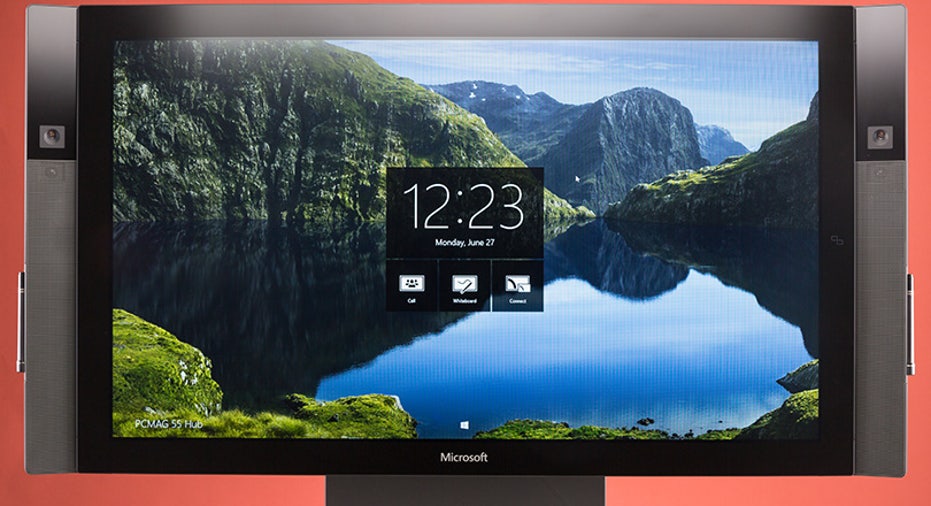
The $8,999, 55-inch, full HD model and the $21,999, 84-inch, 4K model feature similar functionality, navigation, and management, so the advice and steps I'll offer in this article will apply to both systems. In a previous article, I offered a few Surface Hub tips and tricks to help you discover features and use cases you might have missed. Here, I'll walk you through five unique Surface Hub functions from start to finish so that you can make the most of your massive Surface Hub investment.
1) How to Take a Full-Screen ScreenshotIf you're editing an image or you've marked up a webpage, you might find yourself wishing you could press the "Print Screen" button to save an image of your screen for later viewing. However, the Surface Hub doesn't feature a physical button. But that doesn't mean you won't be able to take a screenshot; you'll just have to follow these steps.
Click the "Windows Start" button. Once you're on a screen that you'd like to preserve, click the Pencil icon on the upper right-hand corner of the display. The whiteboard app will automatically reappear and occupy half of the screen. Select the purple "Clip All" button. Next, click the Envelope icon on the lower right-hand side of the whiteboard app. Click "Surface Hub Mail," add your email address, select the PNG version of the file, and click "Send." By the way, most of the images in this article are screenshots taken on a 55-inch Surface Hub.
2) How to Set Up Connect and InkbackOne of the coolest Surface Hub features is the ability to project your laptop, phone, or tablet's display onto the Surface Hub's display, and then make edits on the Surface Hub that are reflected in the original document. In laymen's terms: You can open a Microsoft PowerPoint presentation (or any Microsoft Office document), project it onto the Surface Hub, make edits to the presentation on the Surface Hub, and those edits will also be reflected on your laptop. Sounds useful. However, it can be a bit tricky to set up.
To begin, click the "Windows Start" button. Select the "Connect" app. From your Windows 8 or Windows 10 device, press the Windows button + K on your device. The name of your Surface Hub should appear on the upper right-hand corner of the laptop or tablet you're using. Select your Surface Hub. This next step is very important and easily missed. Select "Allow input from a keyboard or mouse connected to this display." If you don't check the input box, you'll be able to view the original file on your Surface Hub. However, you won't be able to mark it up or make edits to the document.
3) How to Download New AppsIf your Surface Hub administrator has allowed open access for downloading apps, you'll be able to walk up to the device and install any Microsoft Windows 10 Universal app available on the Windows Store. Three things to remember, though. First, if your admin doesn't make this available, none of these steps will work and you won't be able to install new apps. Second, your Surface Hub only comes with 128 GB of storage so there is a limit to how many apps you can download. And third, the data you enter into your app won't be saved on the Surface Hub as the Surface Hub wipes after every session. So make sure you take screenshots or photos of whatever you're working on.
Here's how to download new apps: Click the "Windows Start" button. Select "All Apps." Go to the Settings tab. Enter your Surface Hub credentials. Select "System." Select "Microsoft Surface Hub." Click "Open Store." Use the search bar to find your app. Make sure it is supported as a Windows Universal app. If it is, click "Install."
4) How to Reserve a Surface Hub SessionThis one is pretty self-explanatory. If you would like to reserve the Surface Hub for a meeting later in the day, you can create a session. This is similar to how you would reserve a conference room at work.
First, log into your Microsoft Office 365 administrative portal. Open your calendar. Select "Add Room." Choose "Surface Hub." From this page you can add details about the meeting, add attendees, and, more importantly, schedule a Microsoft Skype session with someone who doesn't have a Skype for Business account—something you're not able to do when launching a new meeting from the Surface Hub itself. The meeting will then be set and the Surface Hub will be reserved for your video or brainstorming session.
5) How to Log into Office 365 to Save DataThis is a biggie. Any work you do on Office apps will be erased the second you log out of the Surface Hub. So, in order to connect your apps to the cloud, you'll need to log into Office 365 every single time you use the Surface Hub. It's an easy thing to do but it's also a repetitive task that can be somewhat annoying.
Click the "Windows Start" button. Select the Office app you'd like to work off of. Click "Sign In." Here, you'll enter your personal Microsoft account information. Do not enter the administrative account associated with the device. If you do, you won't get access to your documents, and worse, you won't save the document to the right account.
This article originally appeared on PCMag.com.